I am big fan of homemade bread. One of the first things I learned to make when we were married was homemade bread. Now, if you have issues with gluten or white flour, this won’t be a Marvelous Monday for you, however, if you have family members who don’t, it’s simple and good (Marvelous Monday MUSTS), so you may want to add this to your kitchen repertoire . With very few simple ingredients, you can make the dough, let rise and bake or make dough, let rise and store in the fridge for up to a week, stored in a larger bowl with plastic wrap. Speaking of plastic wrap, I like to cover the bowl with plastic wrap while the bread dough rises, underneath your hood light. I believe, for me, that is the trick, to let the dough rise, with the bowl covered with plastic wrap, under the hood lights. A sunny window also works too, or you may have your own trick or special place you find that your dough rises best.
Yeast. The recipe calls for 1 individual packet of yeast, (2 1/4 teaspoons). I buy yeast in a jar since I use it so frequently and it ends up being more cost effective. That’s another good point, to make bread at home is cheaper than buying a loaf from one of your favorite local bakeries, those loaves can be pricy, but hey, you get what you pay for and a bakery has so many costs they need to charge enough to make it worth their while. Since there are very few ingredients, you know EXACTLY what is in your bread, in comparison to grocery store brought breads.
Over the last week, I have made this recipe 3 times. I had homemade bread at Sasha and Dan’s house last Sunday, I came home Monday night and made it for our dinner with Pot Roast, made it Friday night to take to friends’ house and again here on Saturday night. Every time, it turned out perfect and absolutely delicious. Here we go!
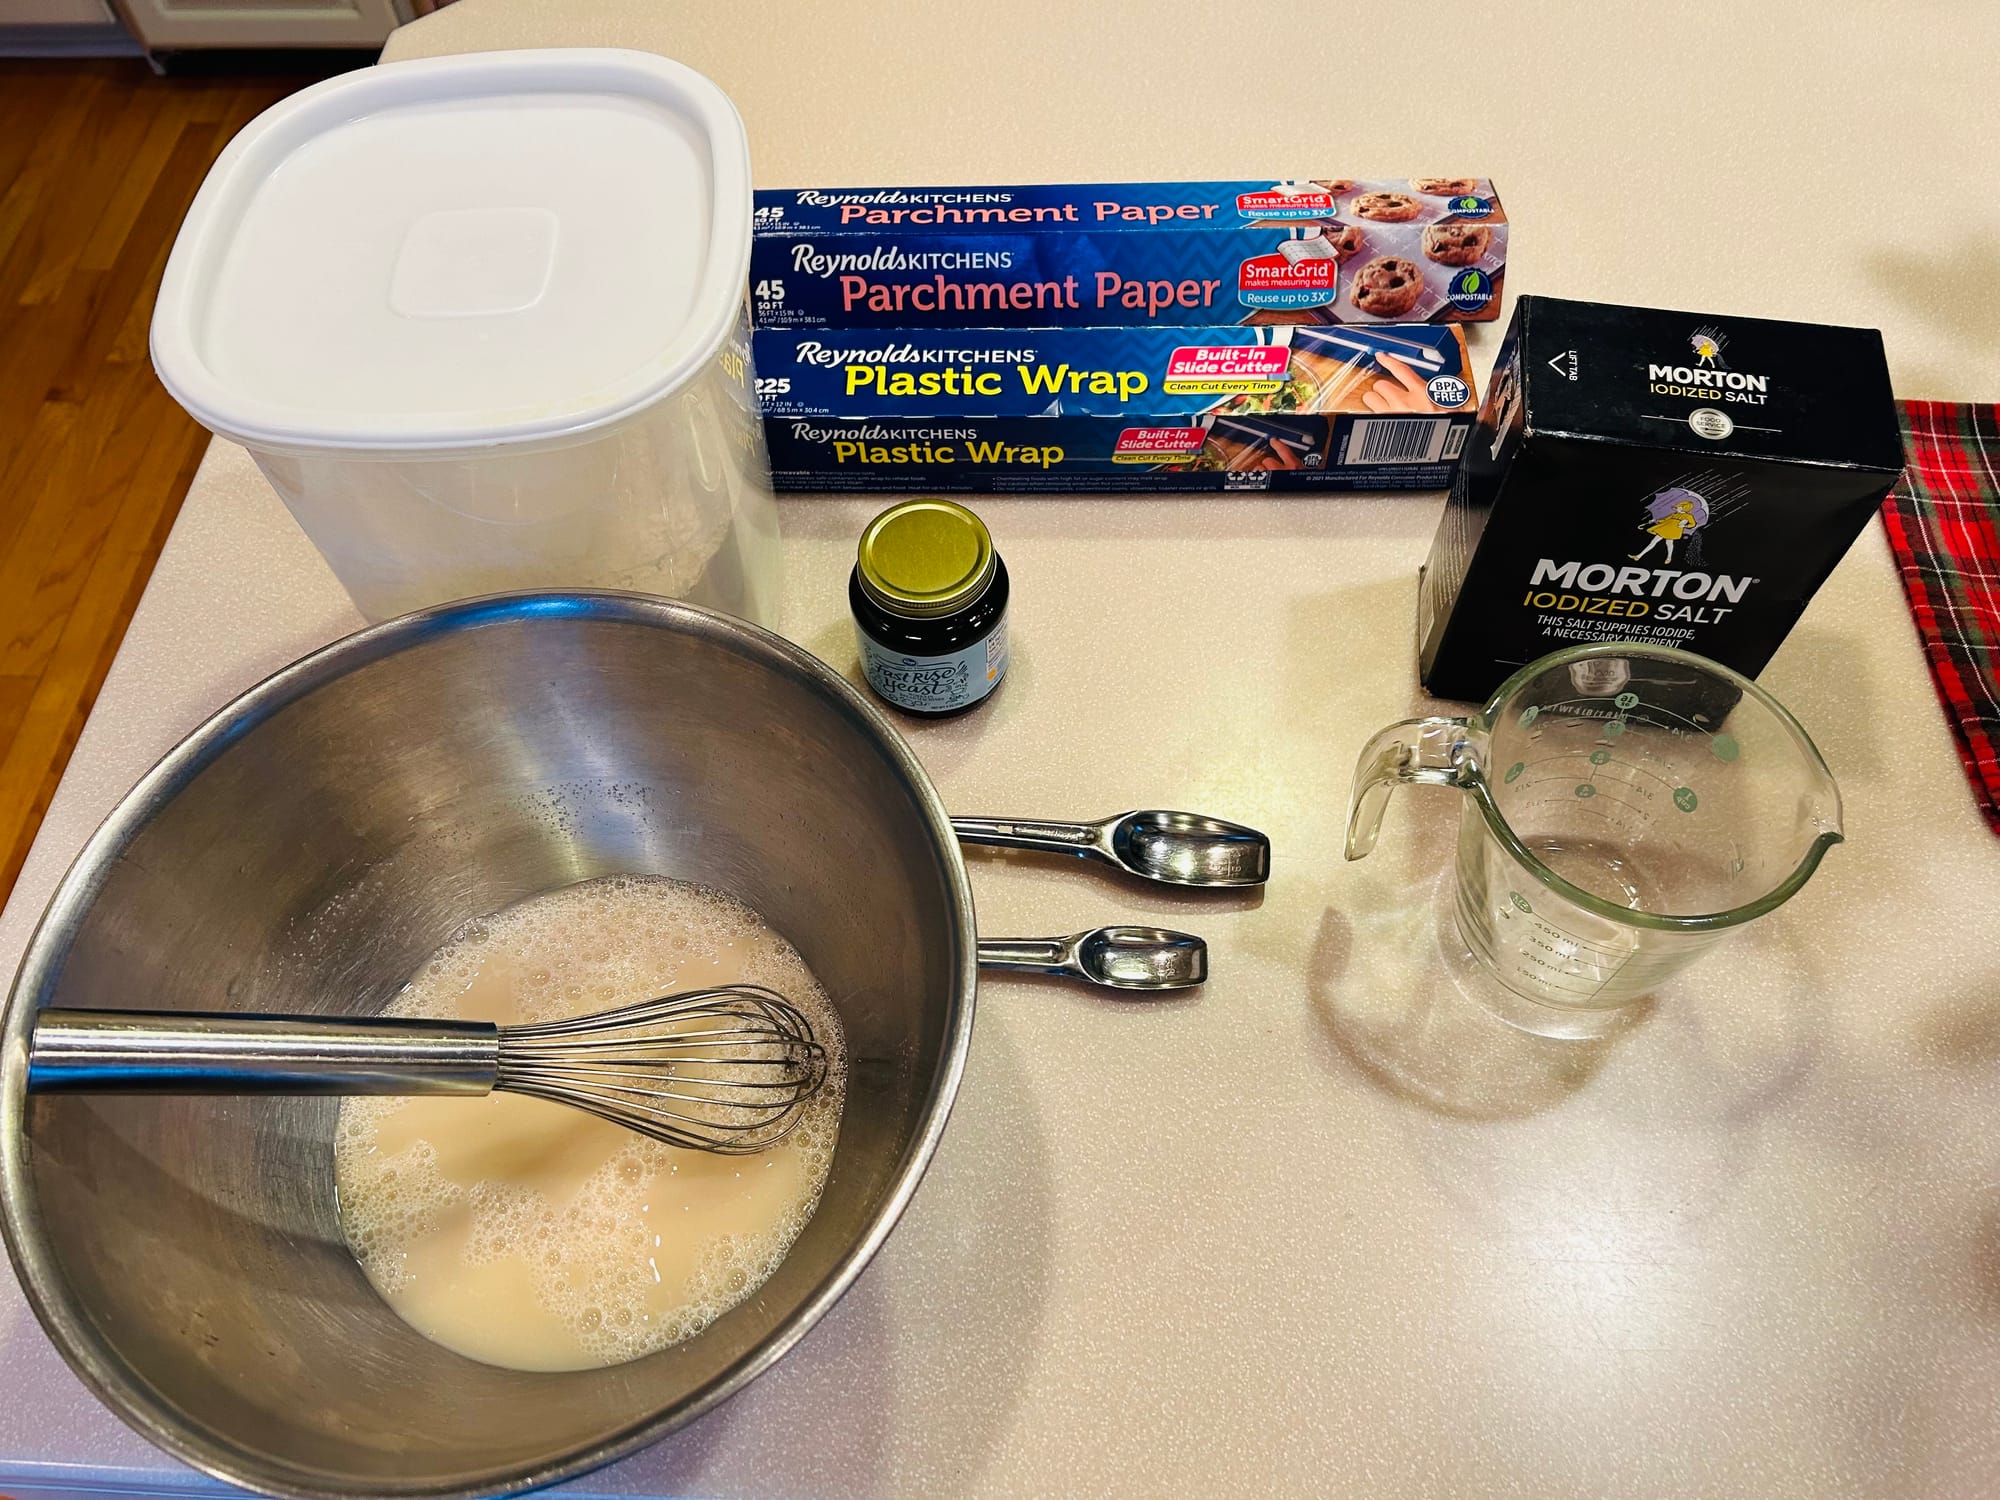
Ingredients/supplies
-1 1/2 cup water
-1/2 Tablespoon salt, I use Kosher
-2 1/4 teaspoons yeast (either from a jar on an individualized packet)
-3 1/4 cup unbleached flour
-additional flour for parchment paper when rising is complete, before baking
-Parchment Paper to turn dough over on
-plastic wrap to cover a large bowl for bread to rise
-A Dutch Oven or baking pan with a cover, you could use a soup pot
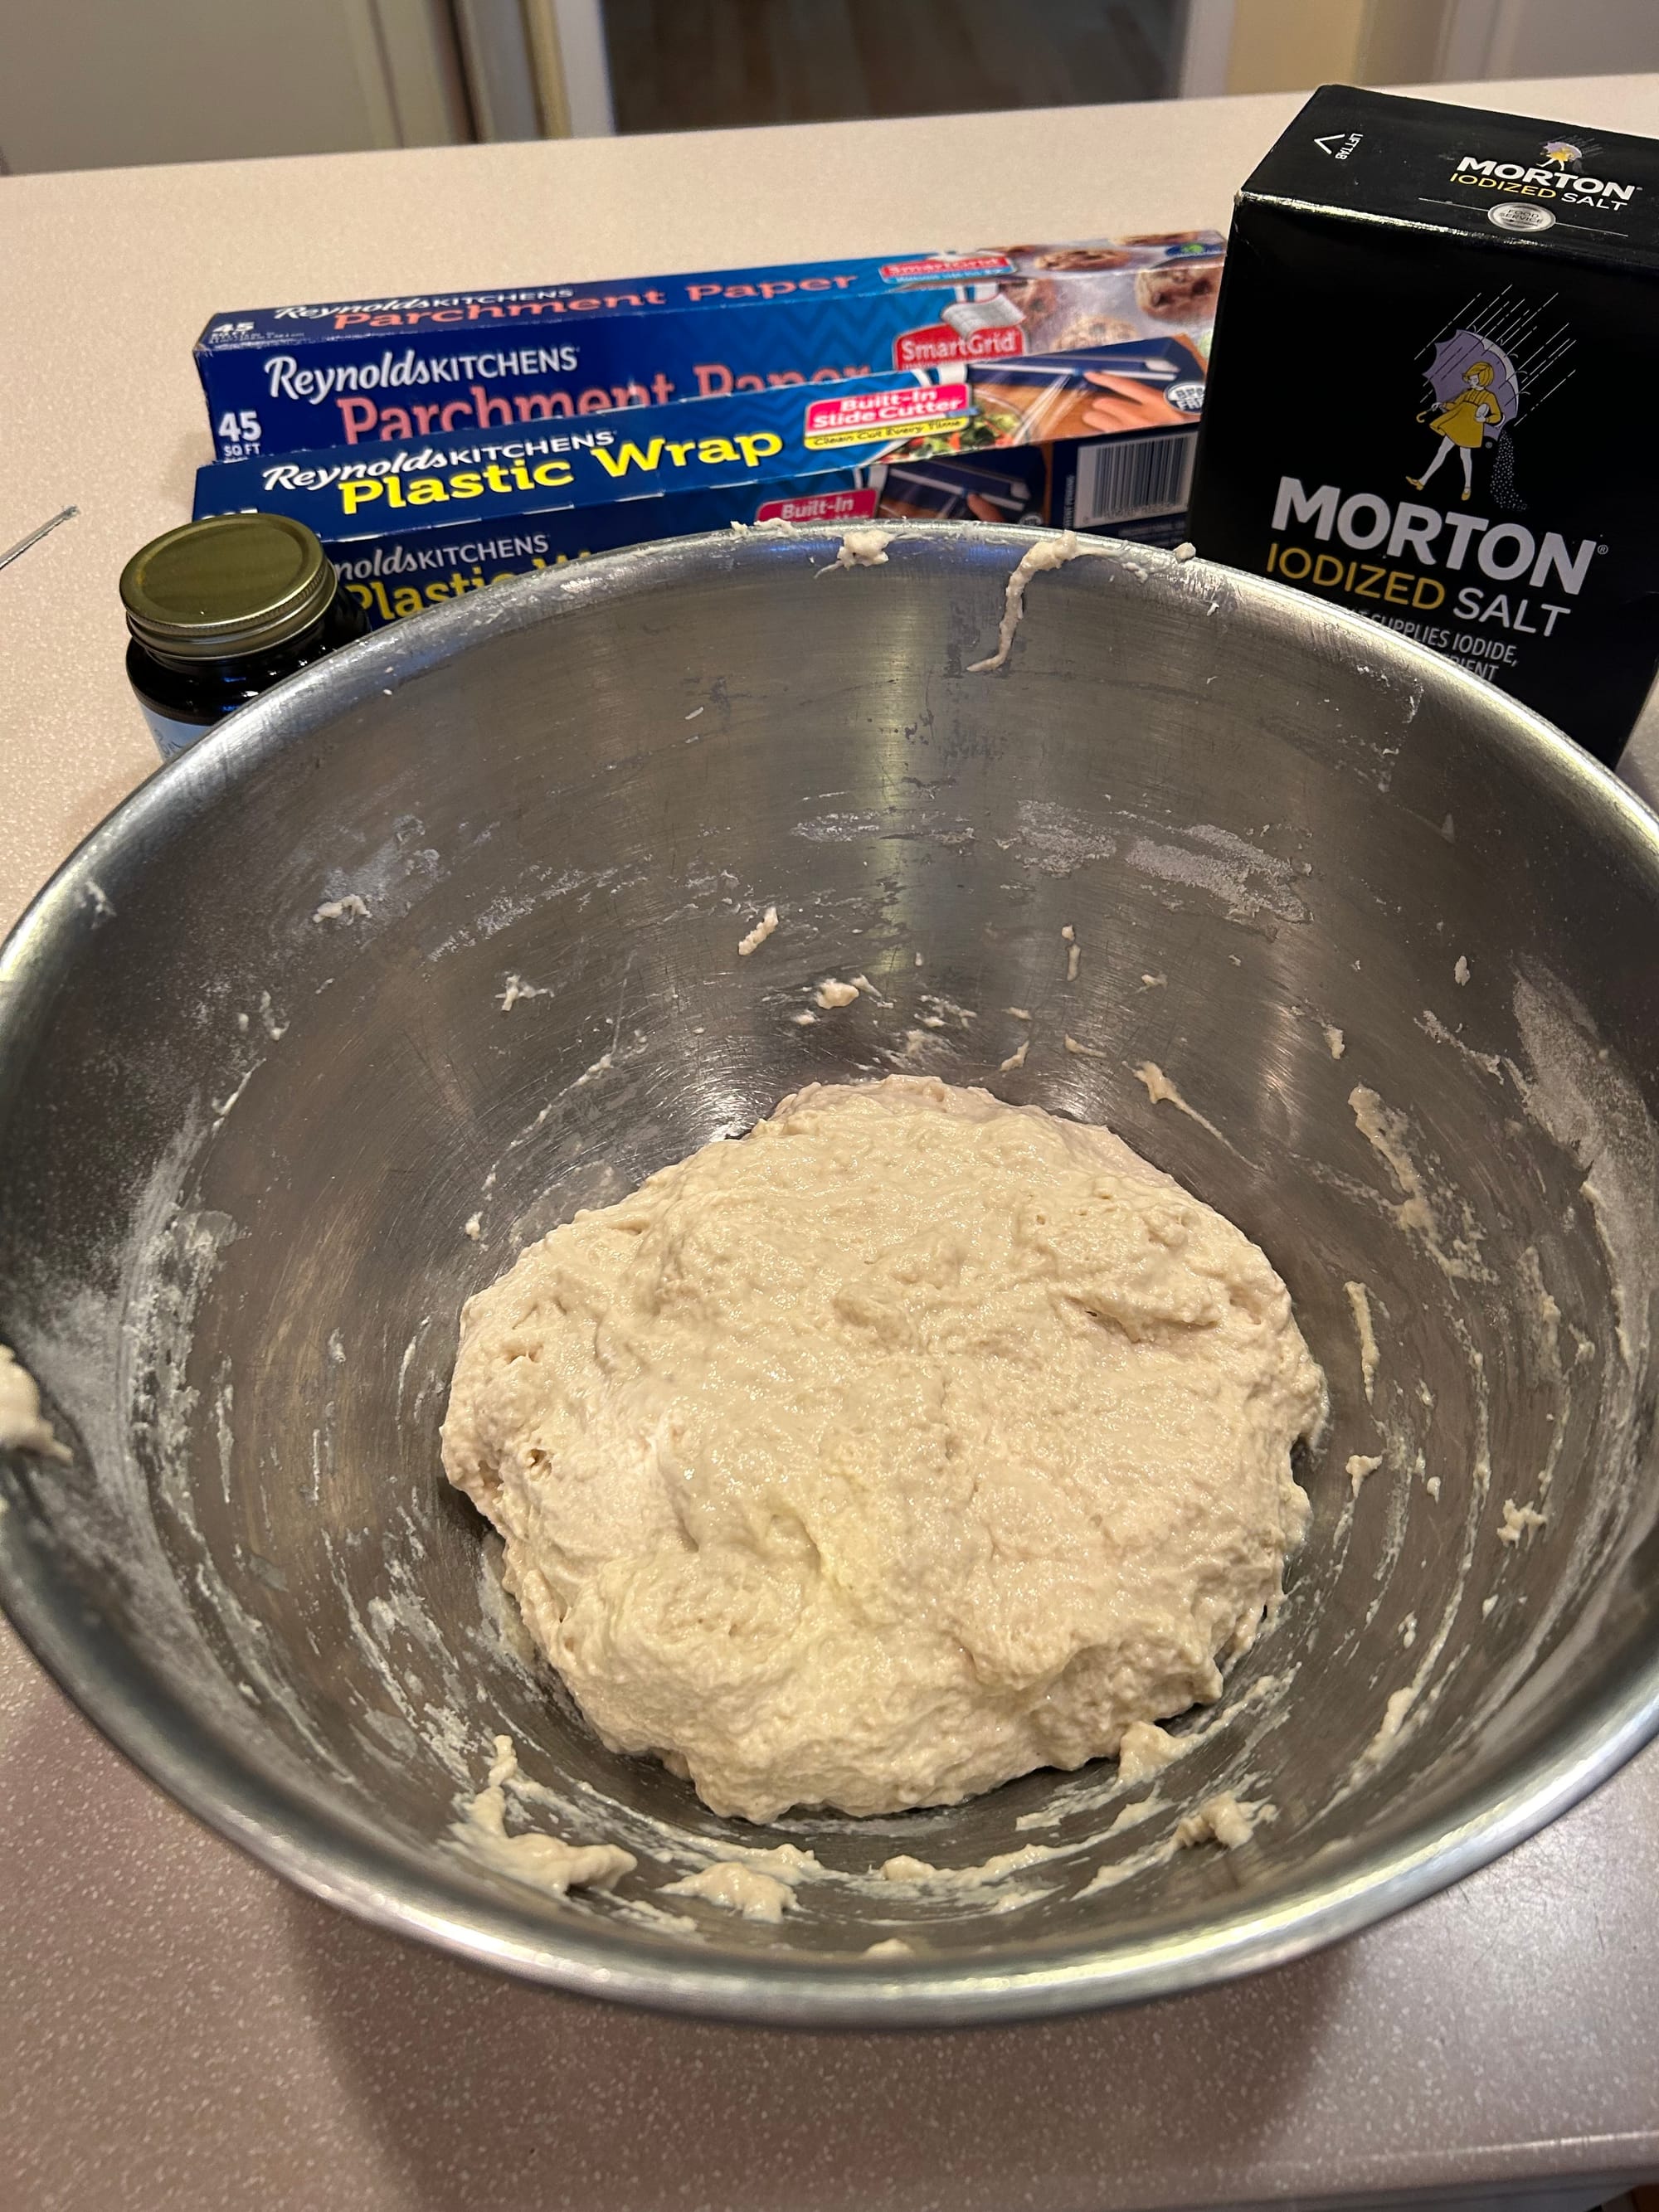
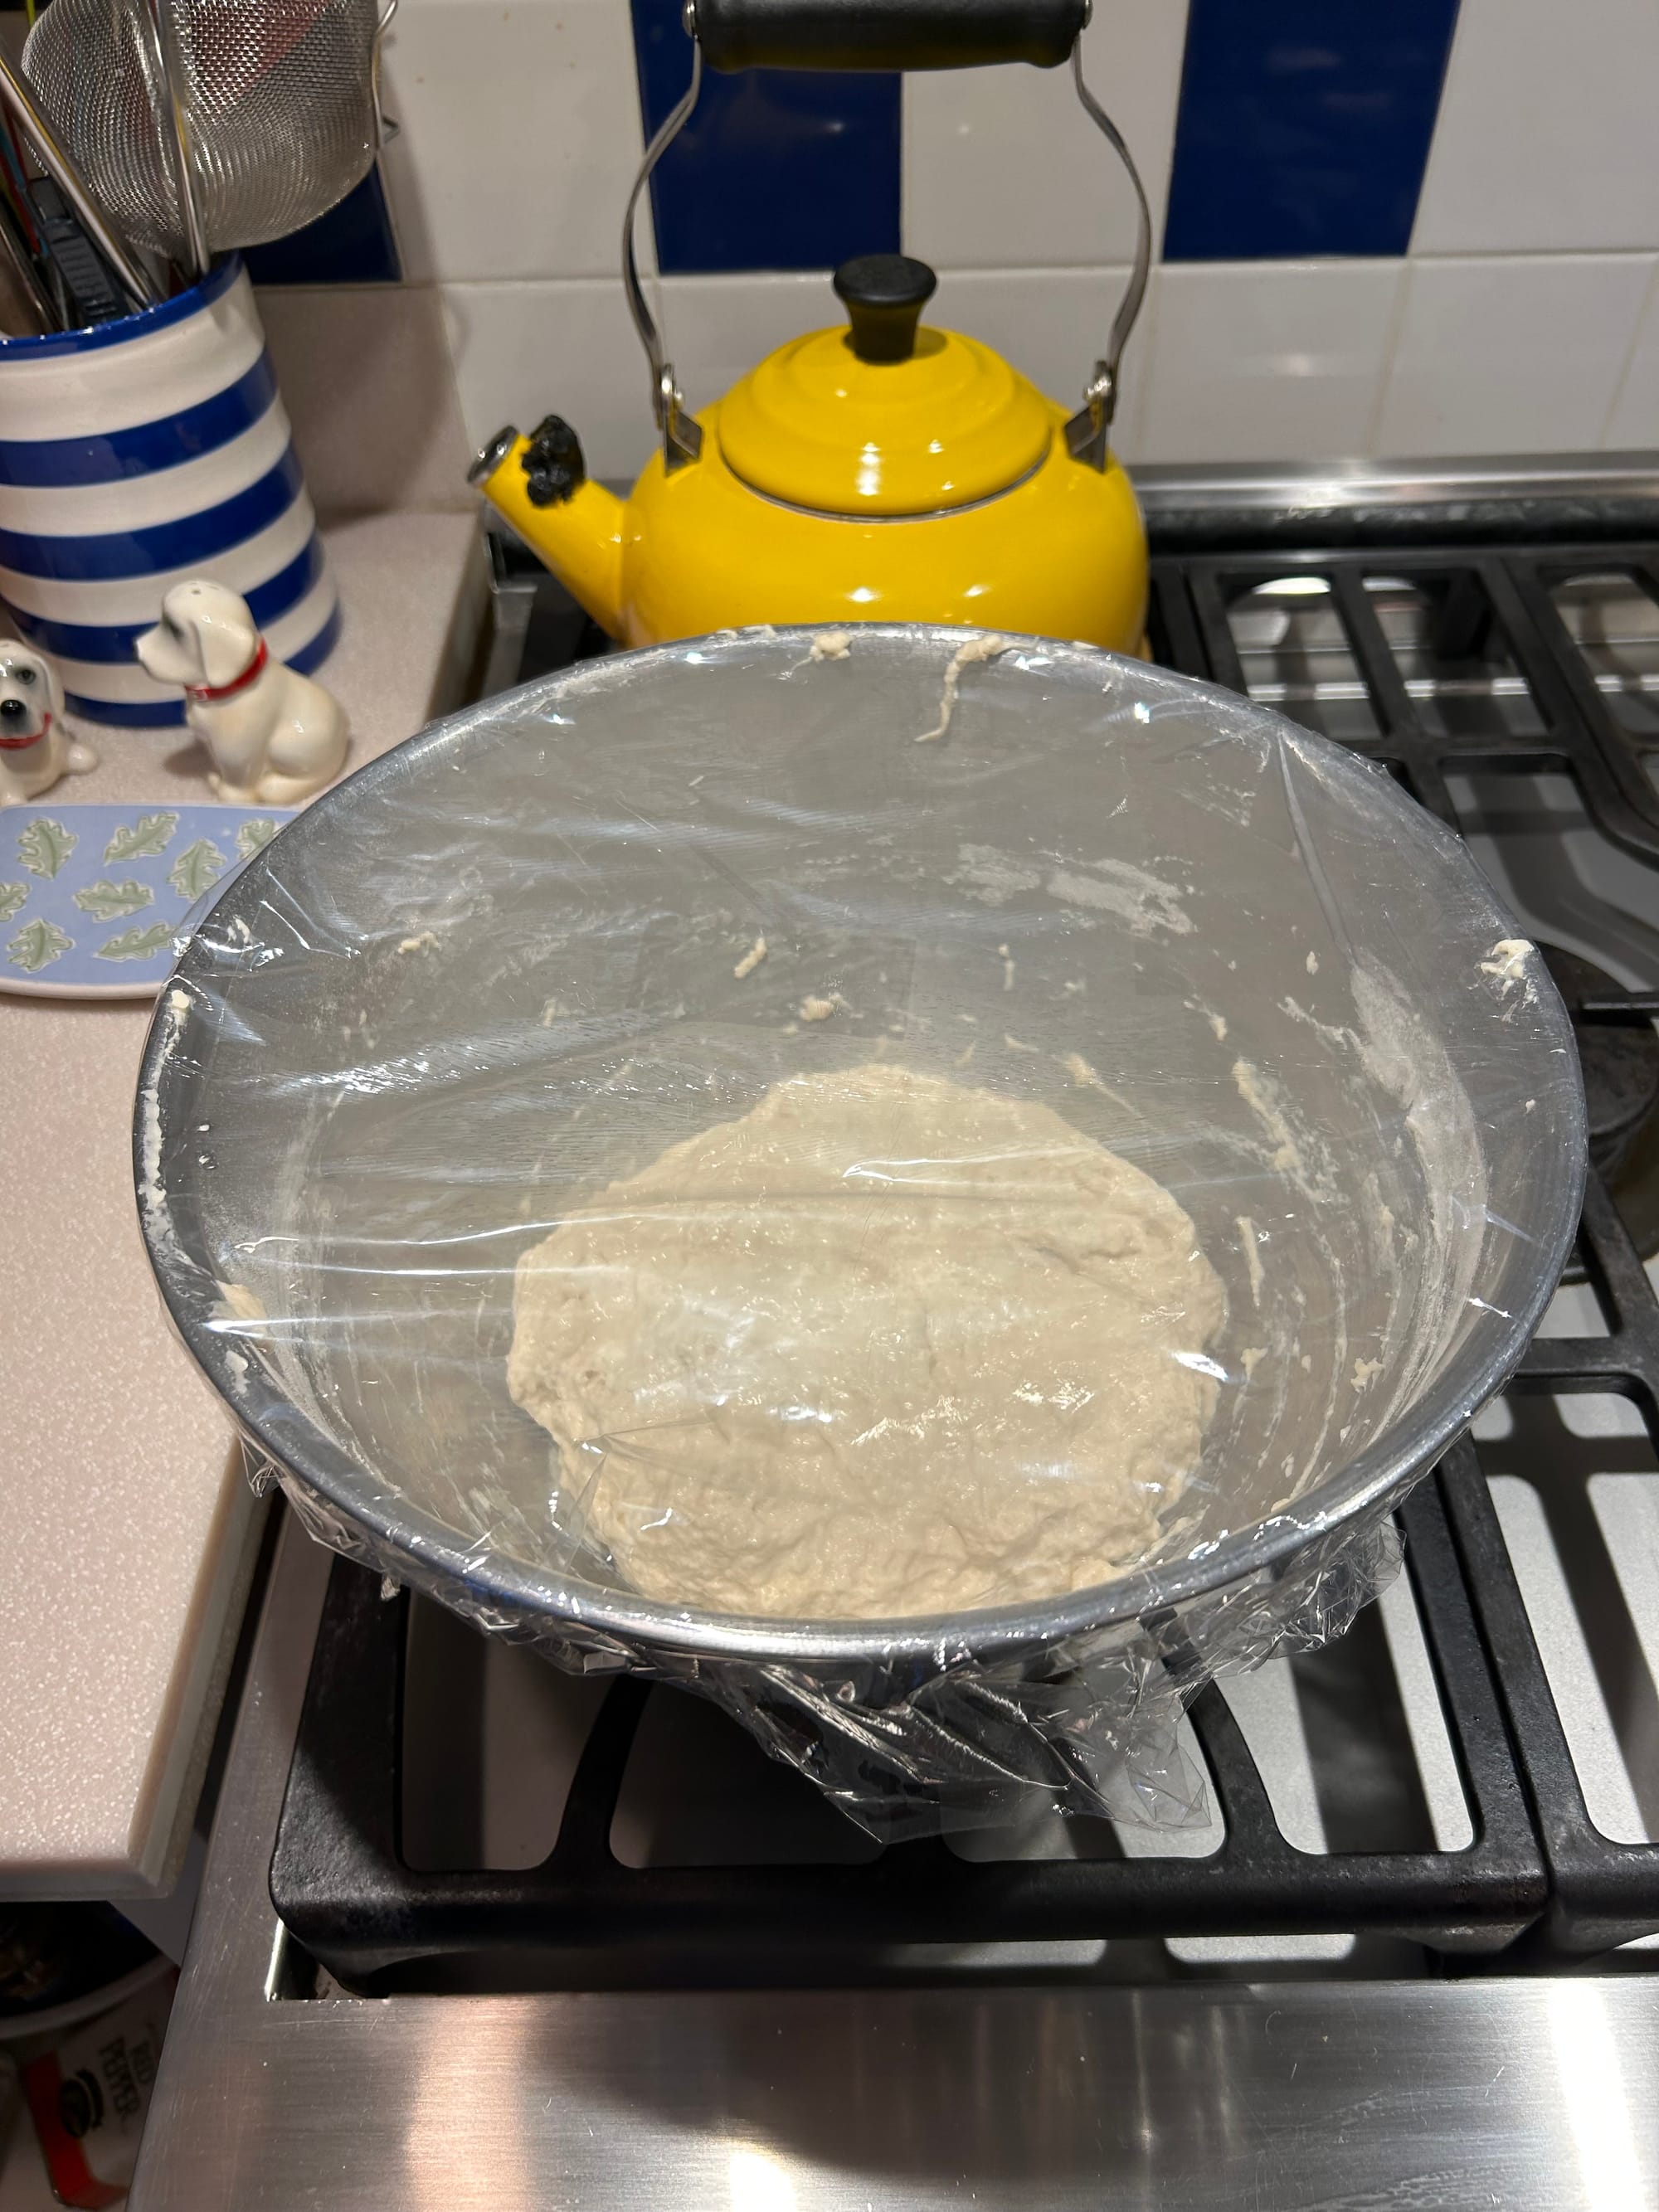
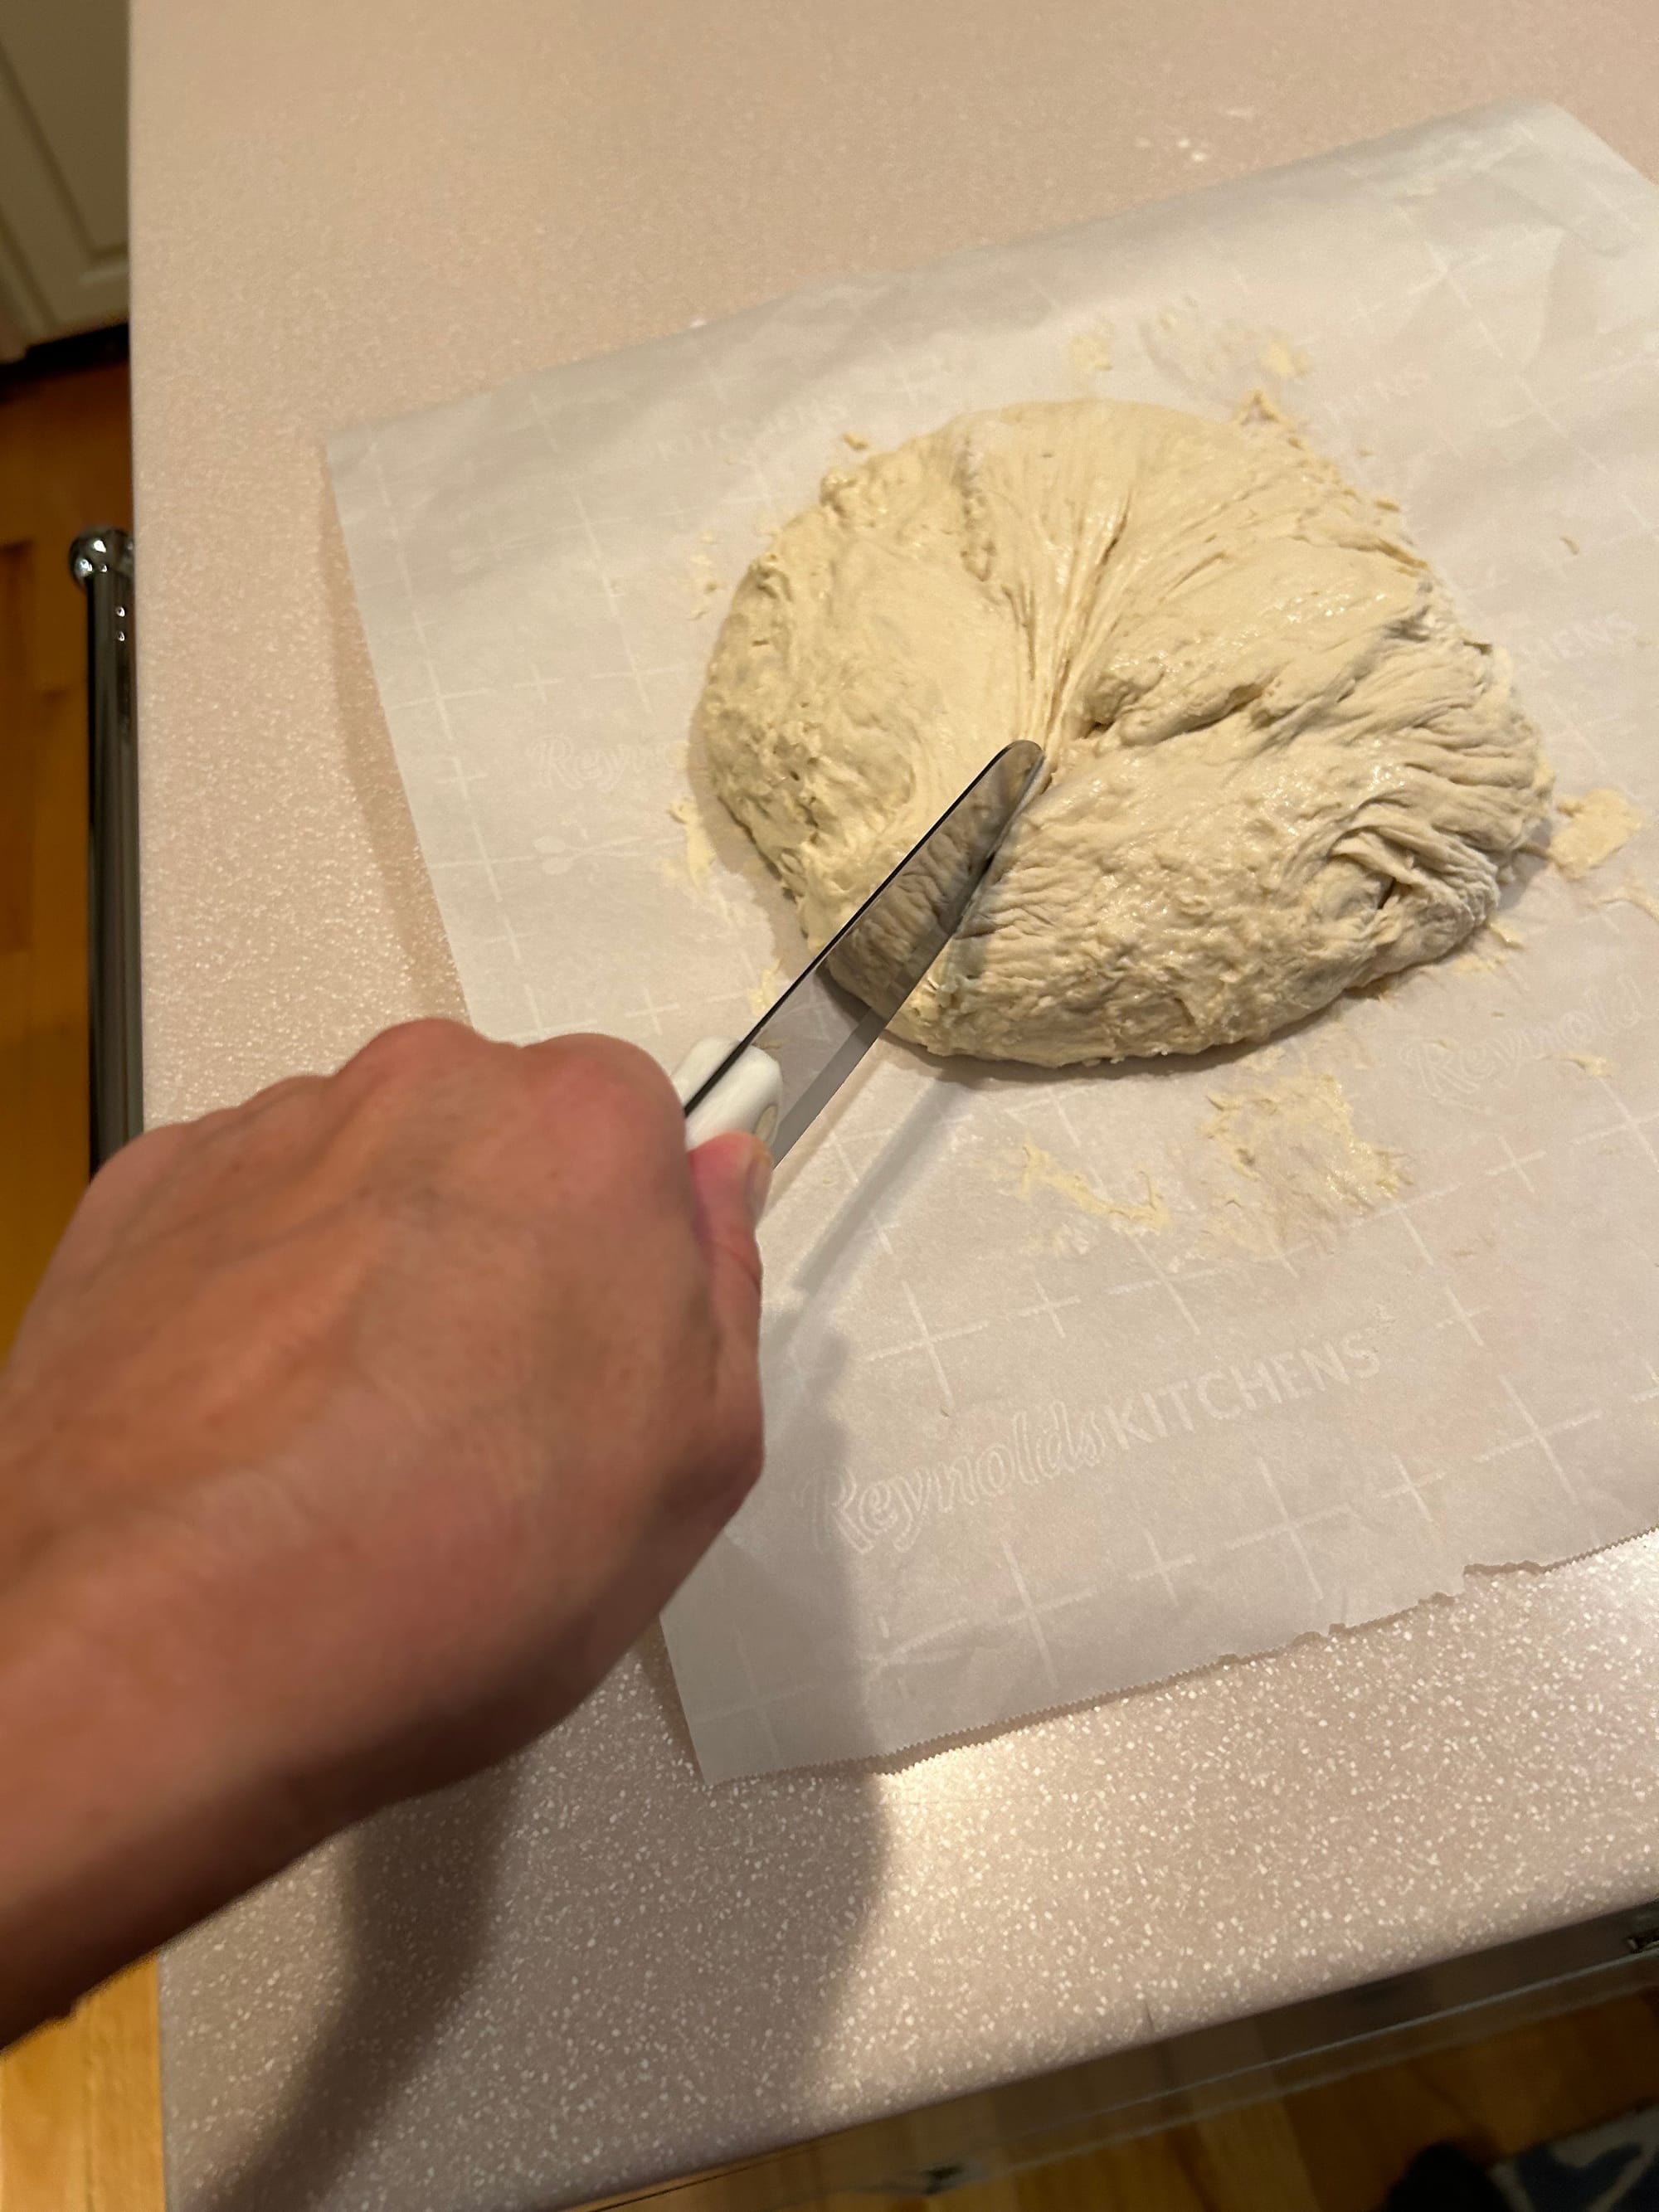

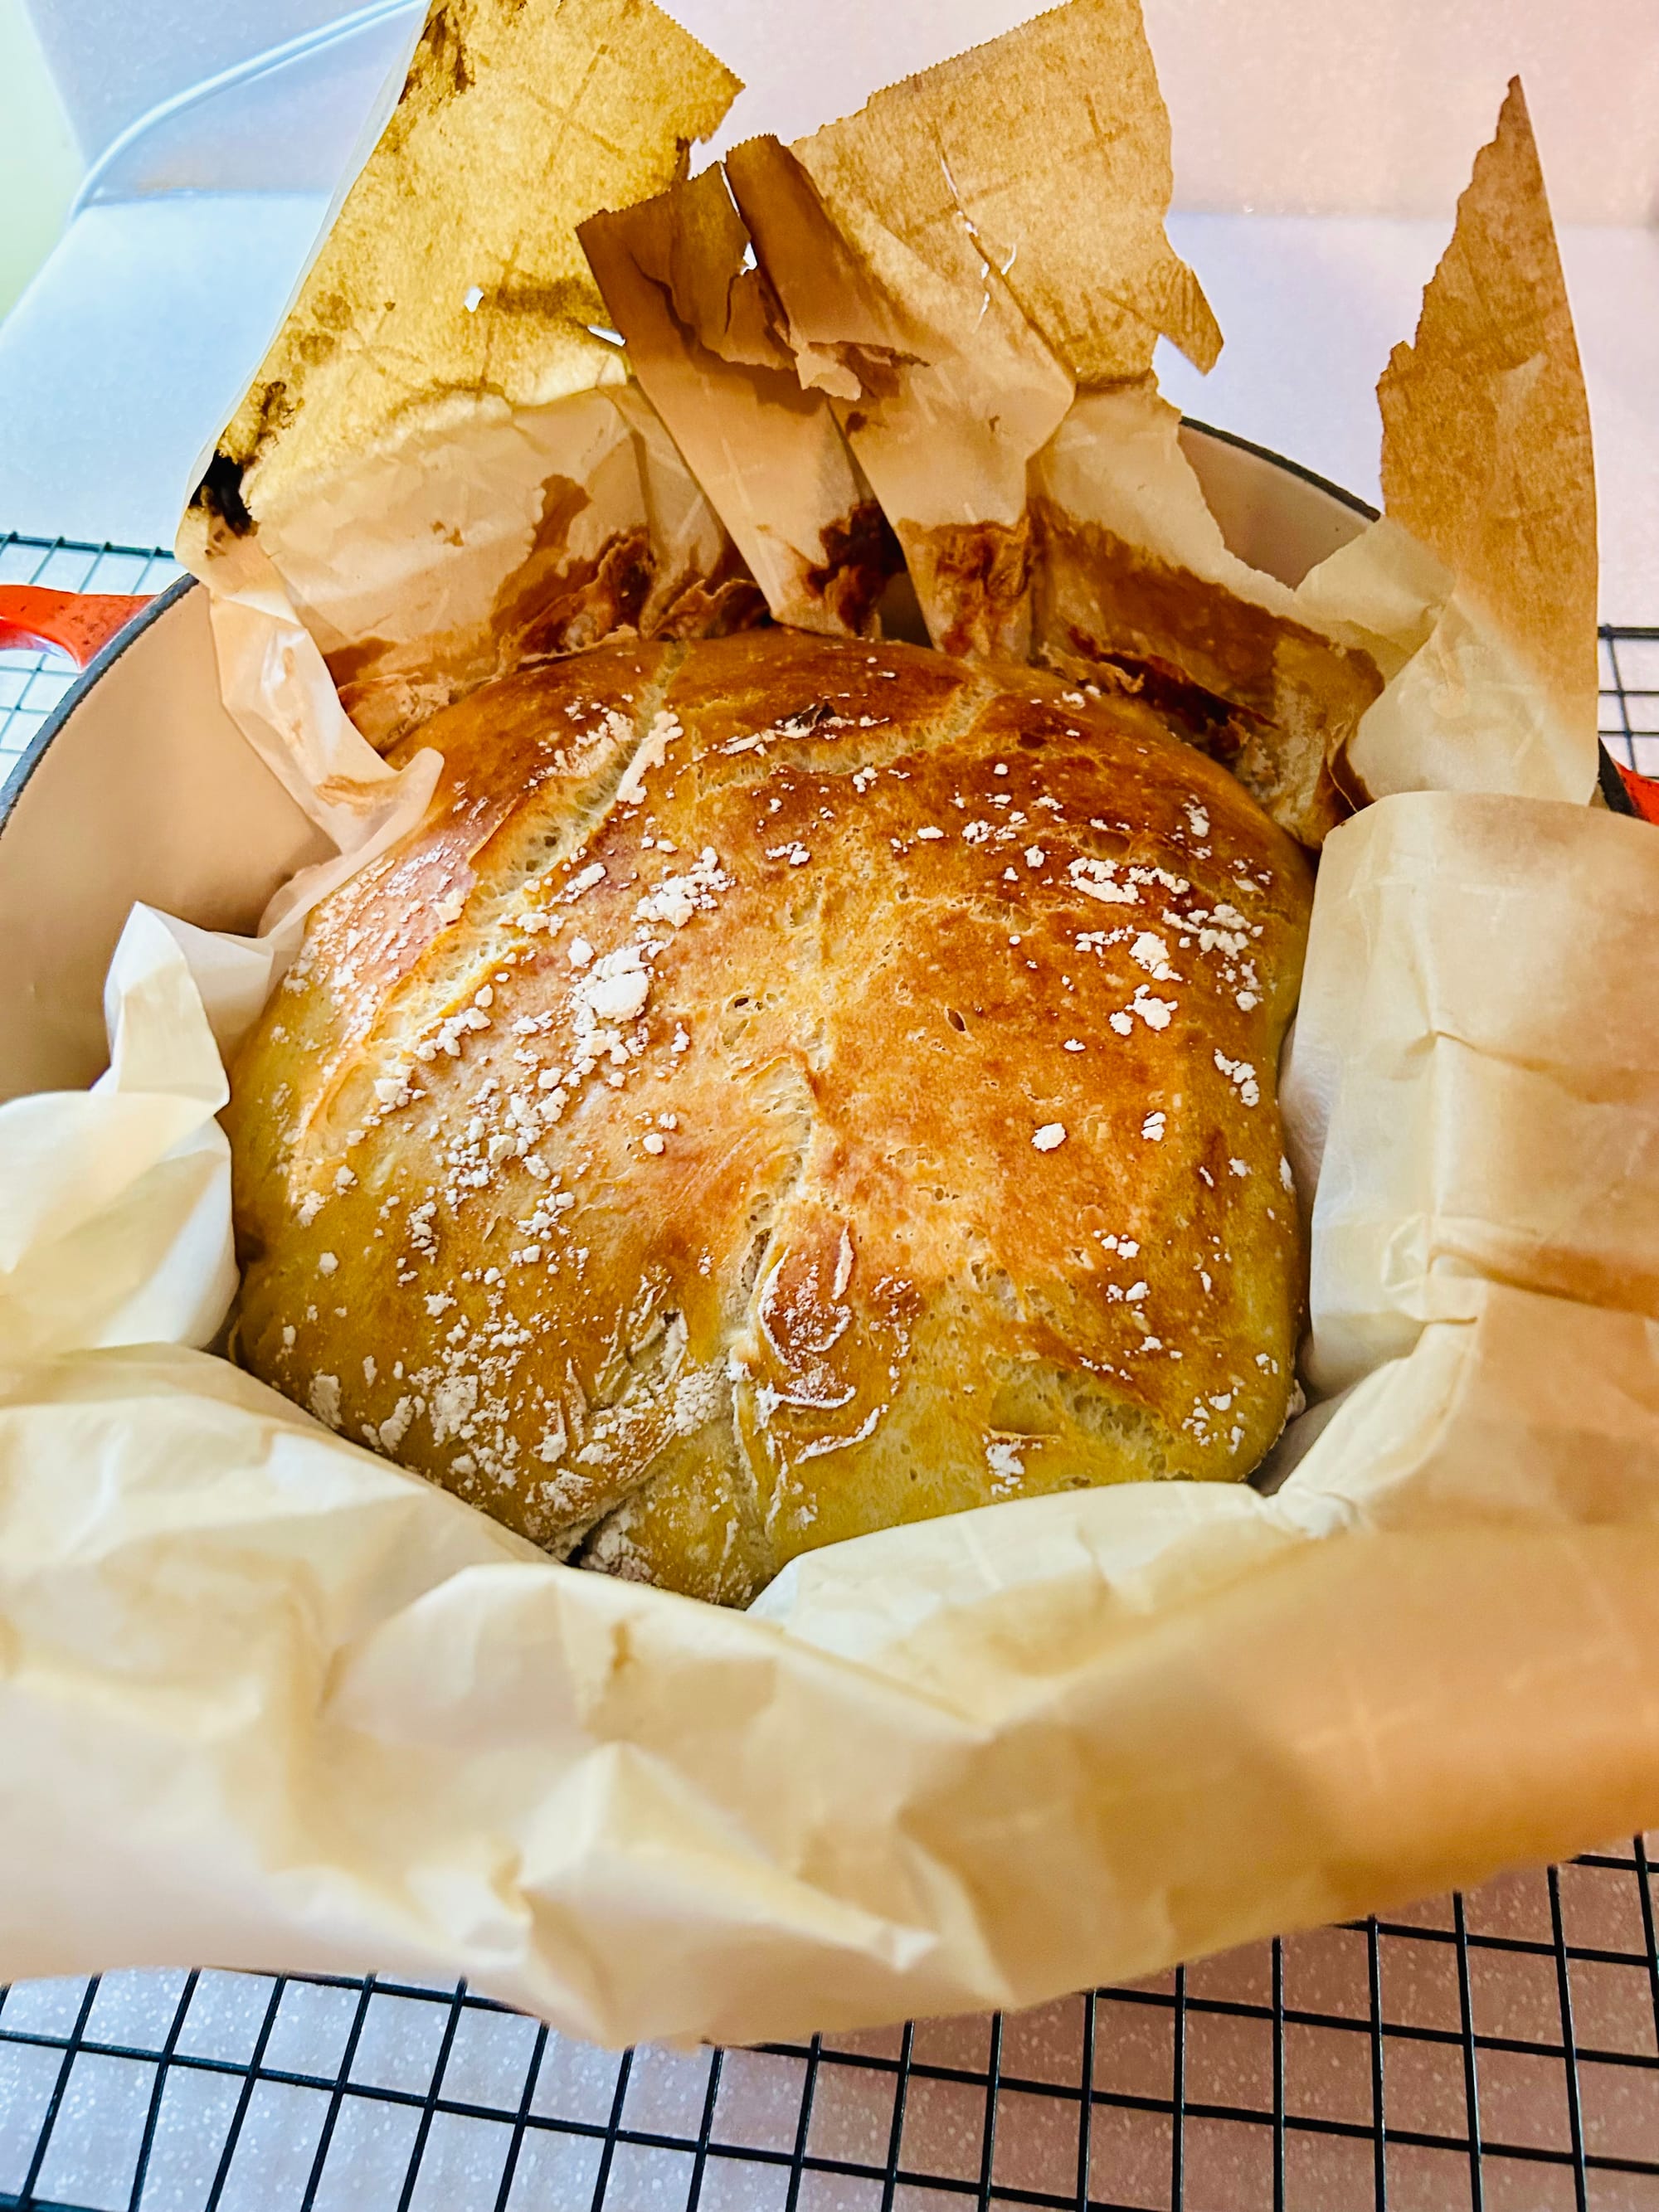
Your dough will be about this consistency. Add a tablespoon or 2 of additional warmed water if needed to achieve this texture. Cover the bowl completely with the plastic wrap and let rise in a warm place. For me, it’s under the hood lights. Score the bread with a sharp knife before baking. Remove the lid after 35 minutes of baking and let bake an additional 10 minutes with lid off.
Method
1. Heat the 1 1/2 cup of water in a Pyrex measuring cup for 55 seconds- don’t over heat water, it could kill the yeast rising properties.
2. While the water heats in microwave, measure out yeast and salt in a large mixing bowl.
3. Pour heated water in the mixing bowl and whisk water, yeast and salt until well blended.
4. Measure out carefully 3 1/4 cups unbleached flour and stir in with either a wooden spoon or silicone spatula (If you feel you need a little more water, add 1 or 2 tablespoons heated water (10 seconds) to mixture so all flour is incorporated.
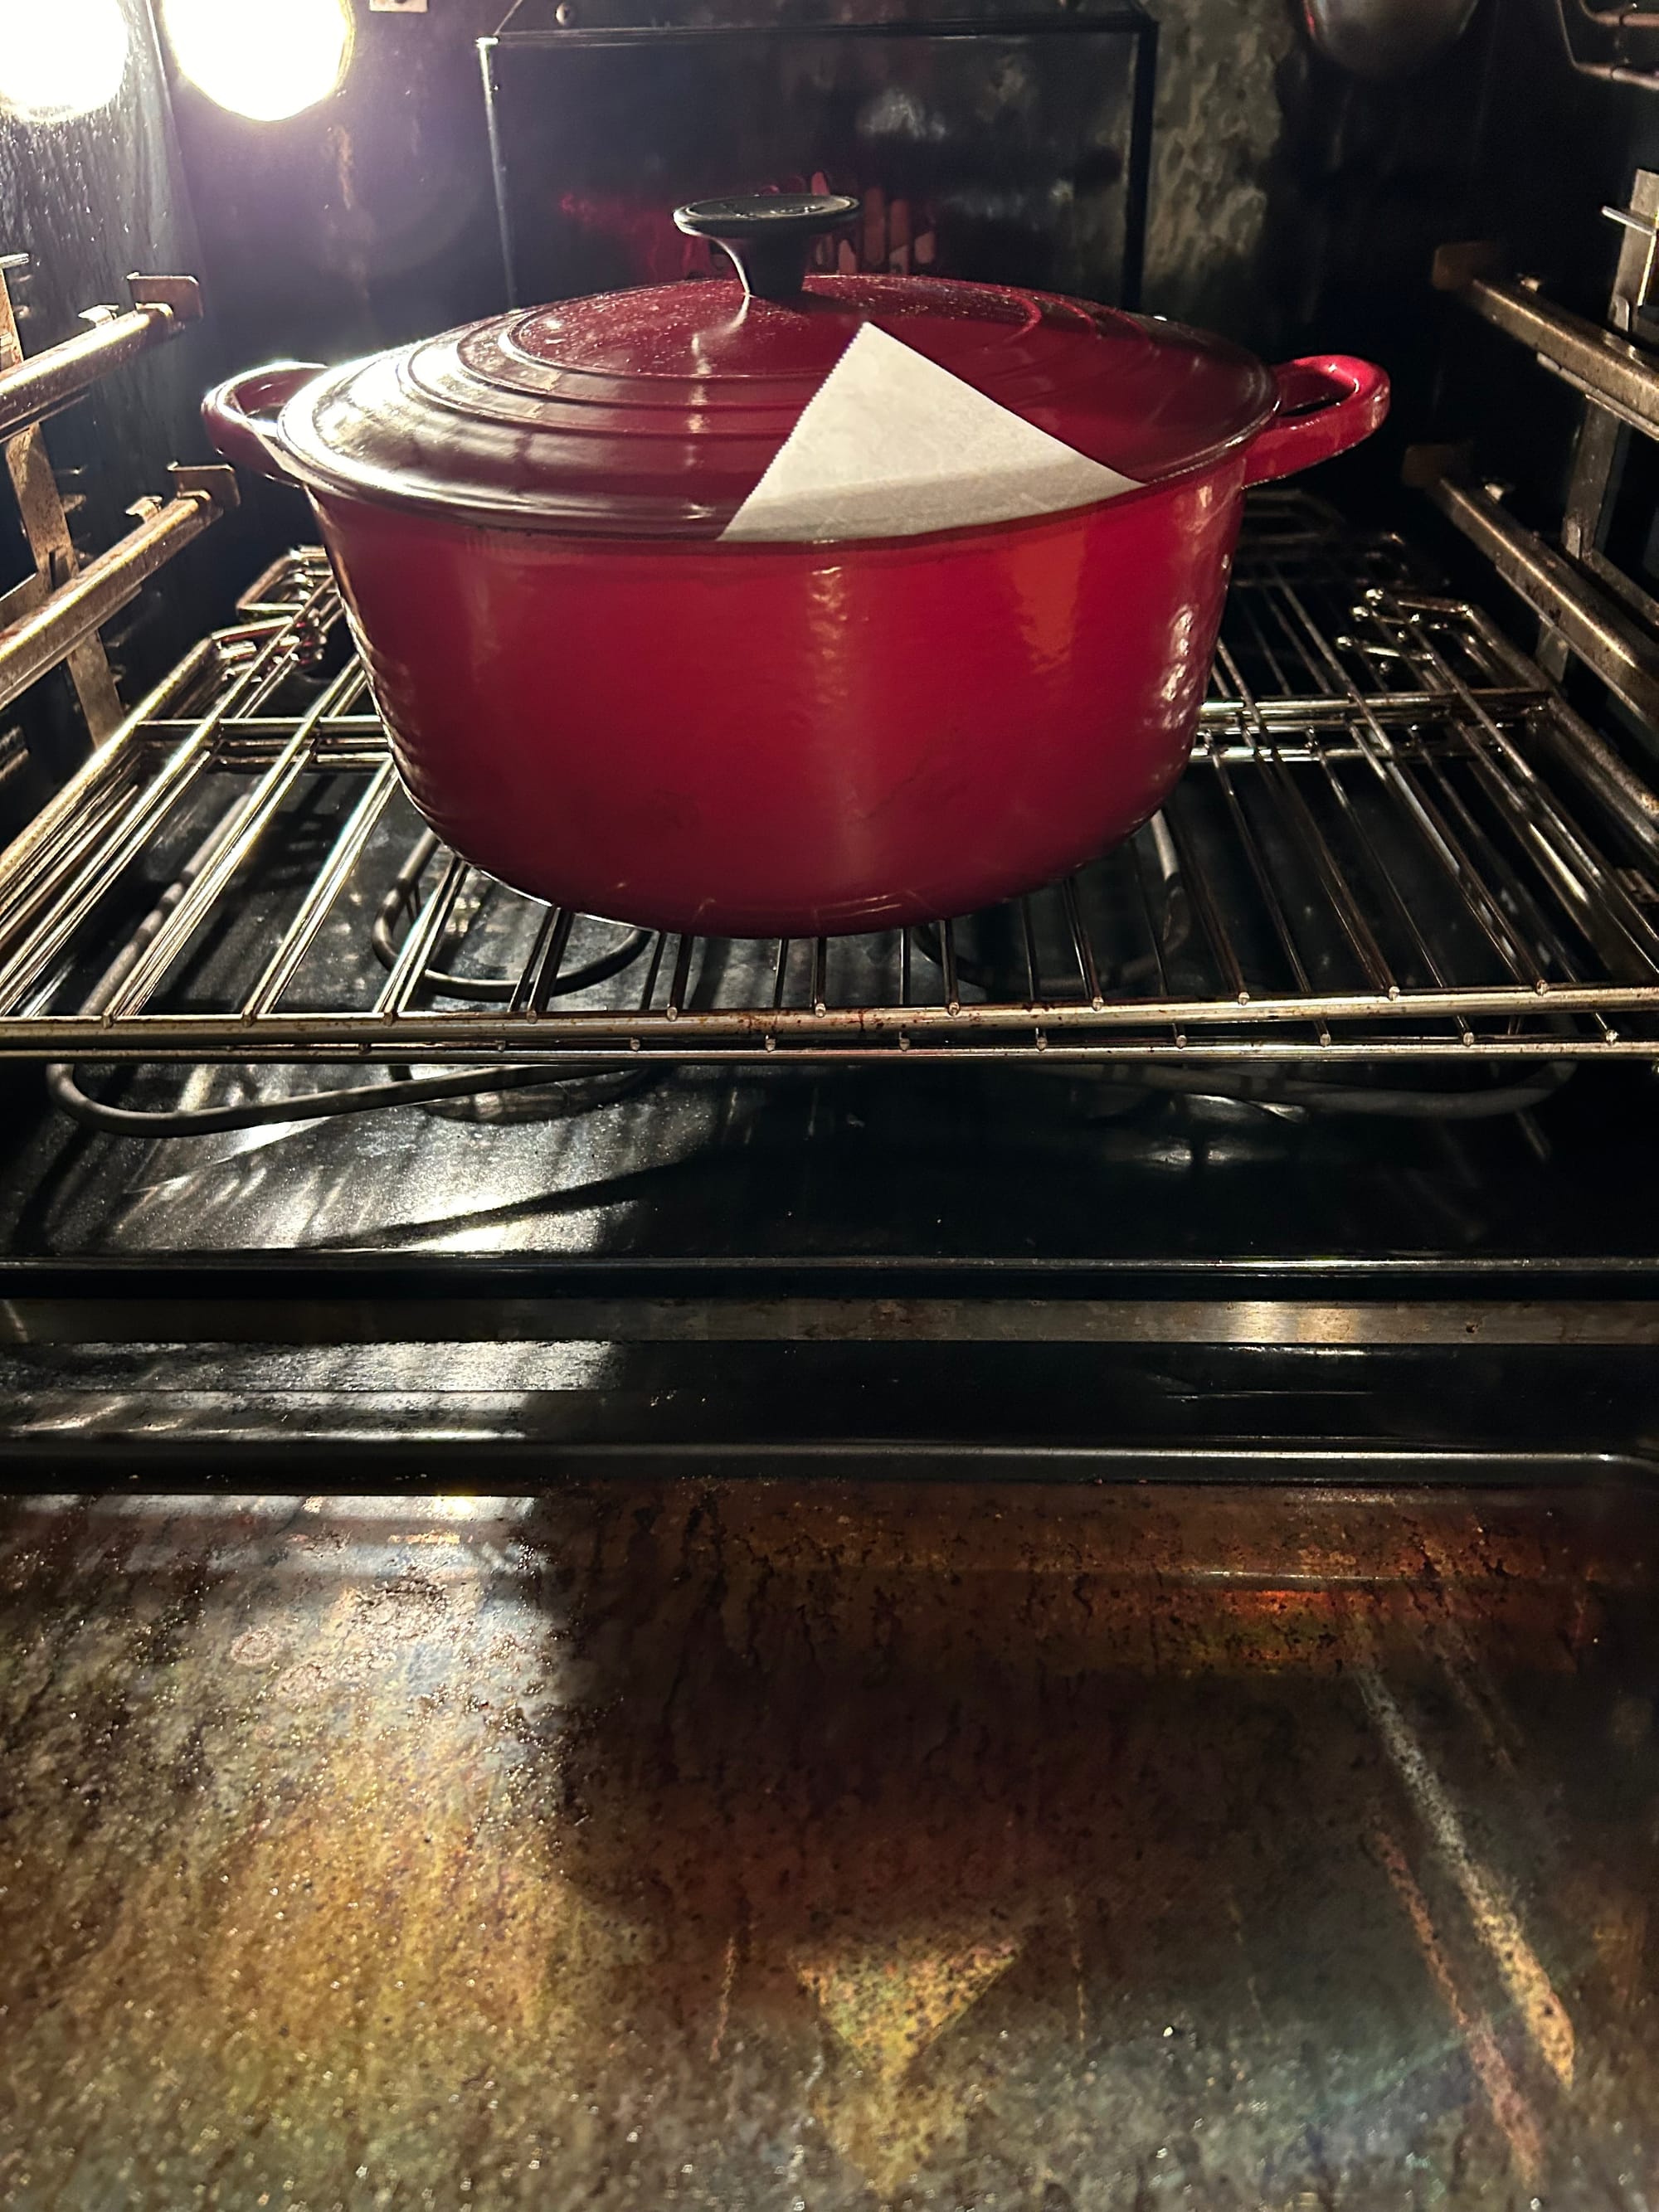
5. Cover bowl with plastic wrap making sure to press around the edge of bowl so additional air doesn’t not get in, and set in a warm place like on a stove top under a hood light or your favorite place for rising. You want dough to double in bulk, approximately 2 hours. About 30 minutes before rising time is complete, preheat oven to 450 degrees and place Dutch oven or pan for bread to bake in, in the heated oven to heat the cooking container. This aids in a crispy crust outcome. Remember to use pot holders when handling the hot pot and lid.
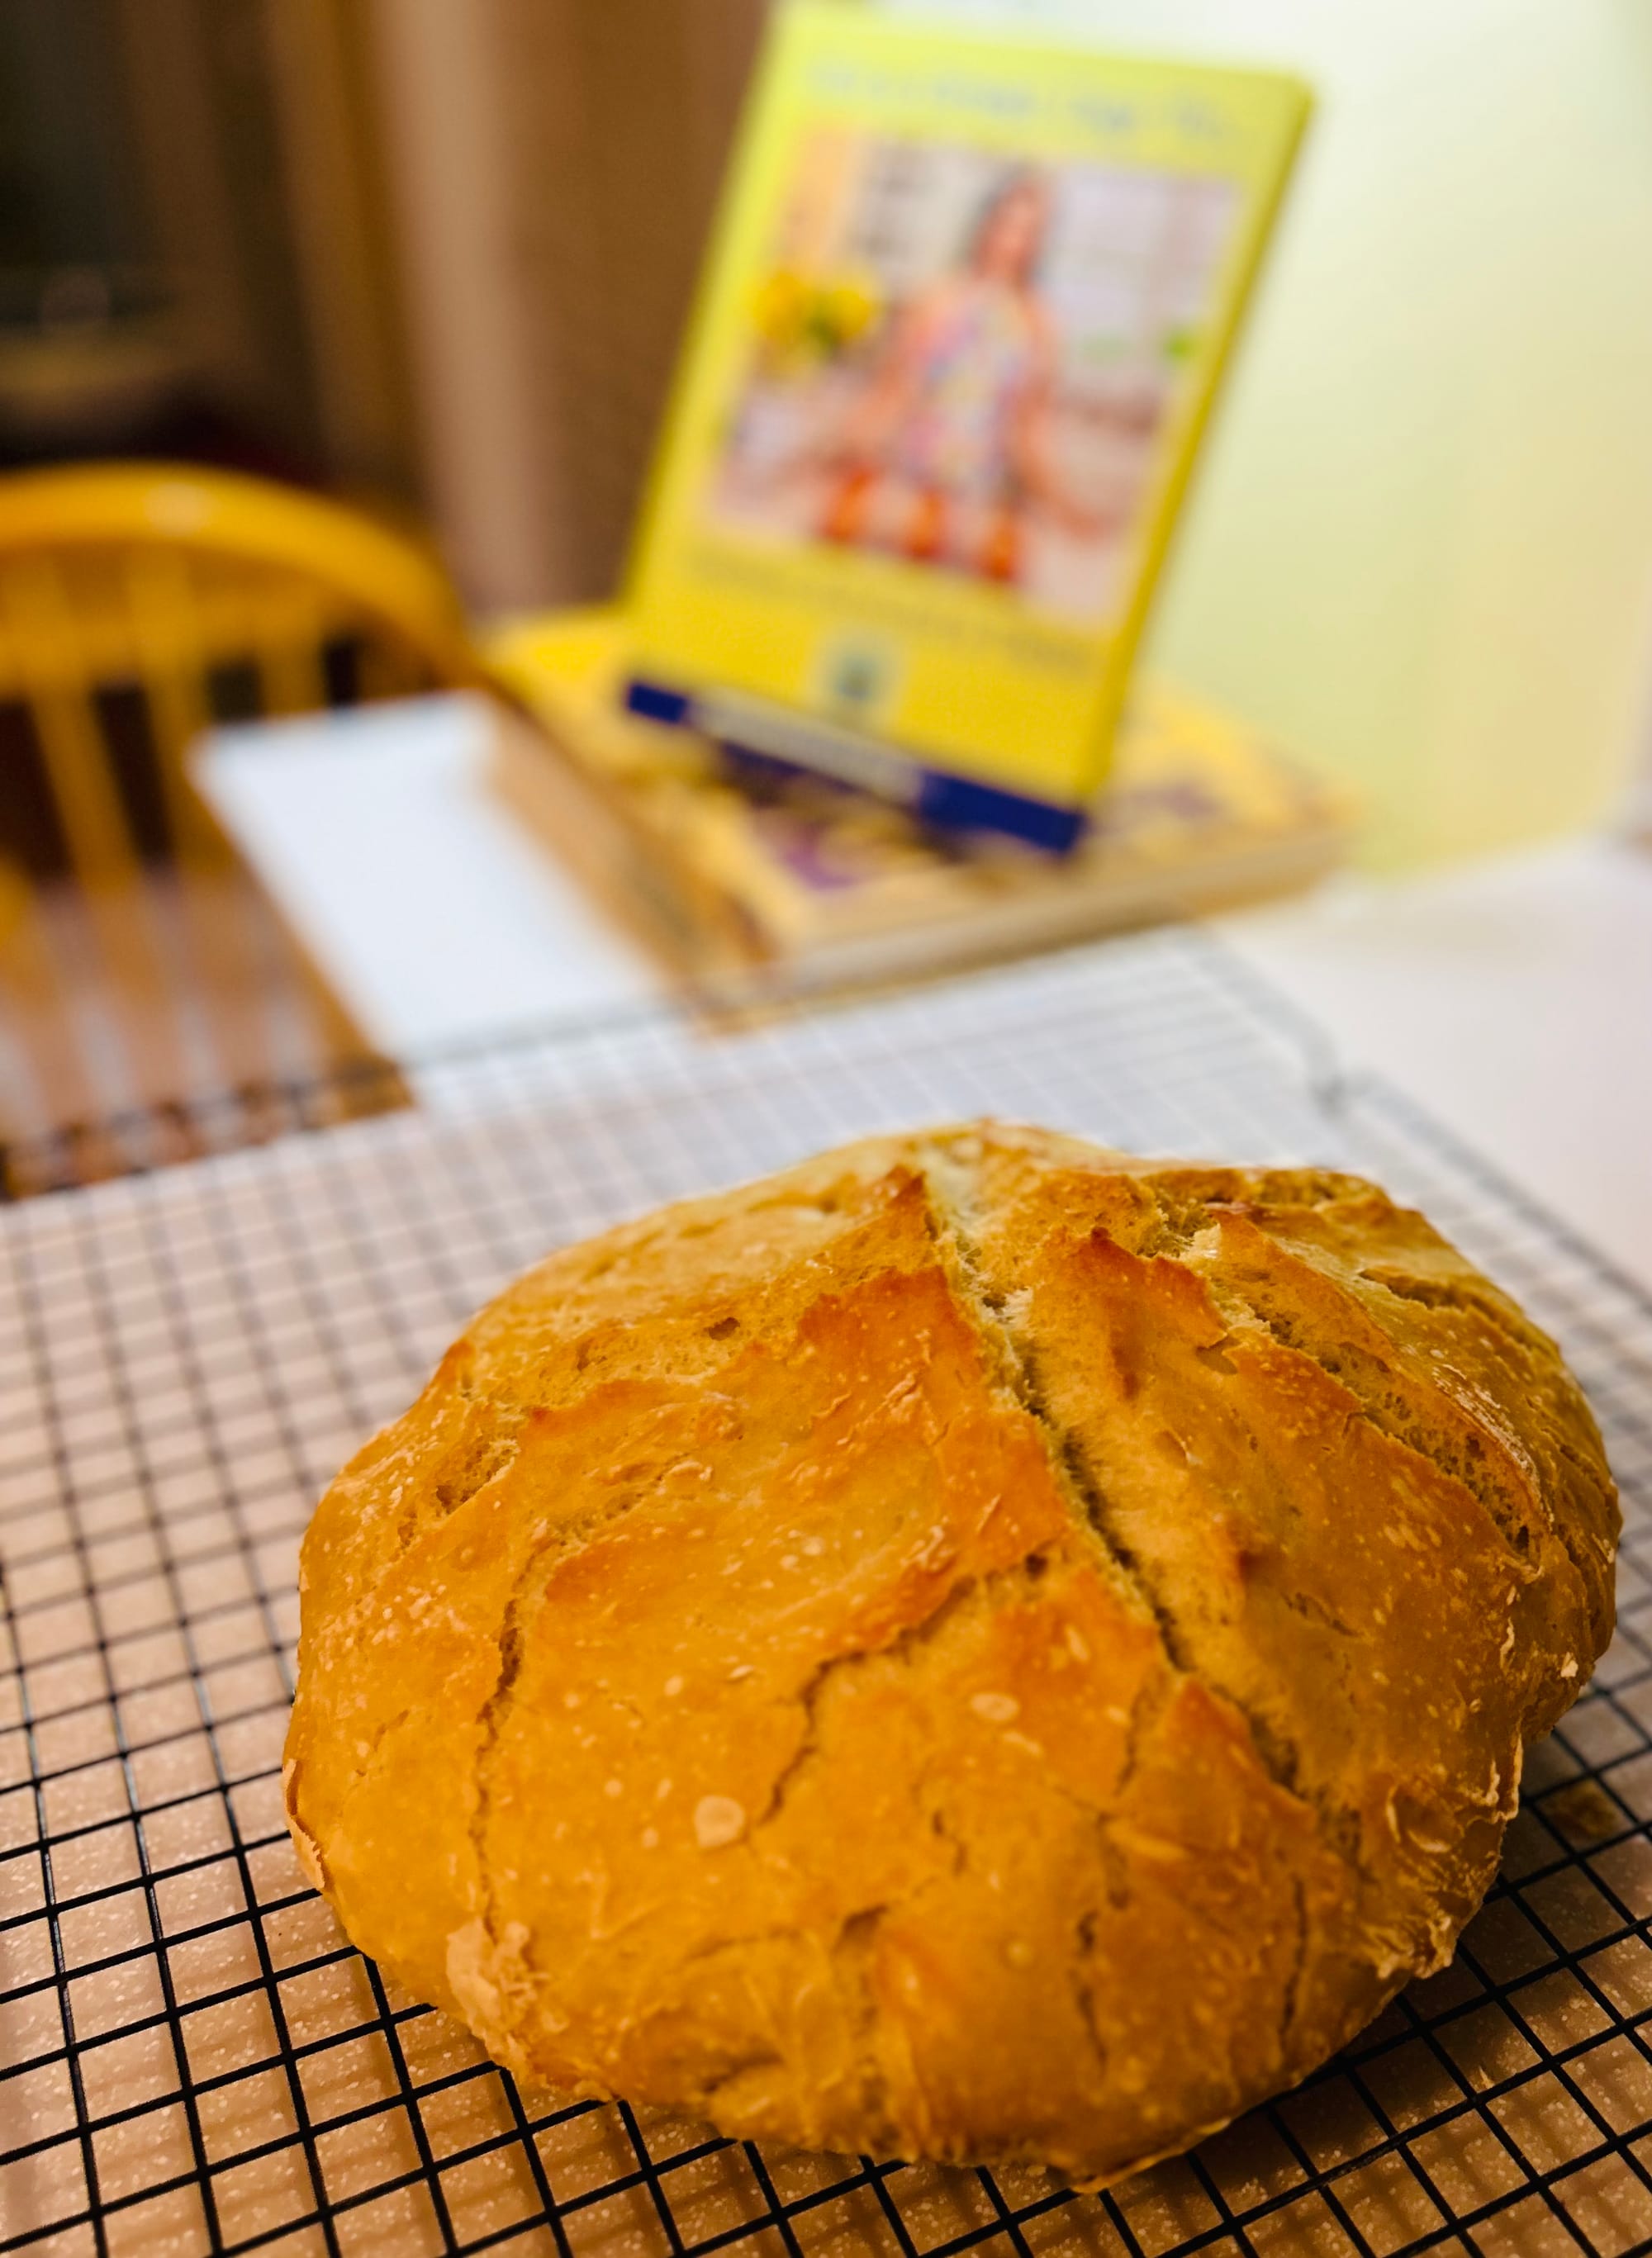
6. Sprinkle flour on parchment paper and turn risen dough onto the floured Using a silicone spatula turn dough to incorporate the additional flour into the moist dough. Turn the paper to get the shape along with handling the dough with the spatula. Handle the dough as little as possible to get it into a round shape for best bread final texture. When it is shaped, lift the lid off the Dutch oven/pot using potholders, then pick up the parchment with the bread on it and place in the Dutch oven/pot. Use a sharp knife to score a cross on top of the bread. The Irish do this with Irish bread to Bless it, that can be your purpose too in addition to allowing for the bread to have a rustic texture on top with some brown bits-see photos above before baking and below after. Place the top on the pot and set your timer for 35 minutes in the 450 degrees in the oven.
7. After the 35 minutes baking time, carefully take the lid off, of course using a pot holder. Set timer for 8-10 more minutes. Remove at that time, let cool on a rack for at least 10 minutes before slicing. Yum, Yum & Yum.
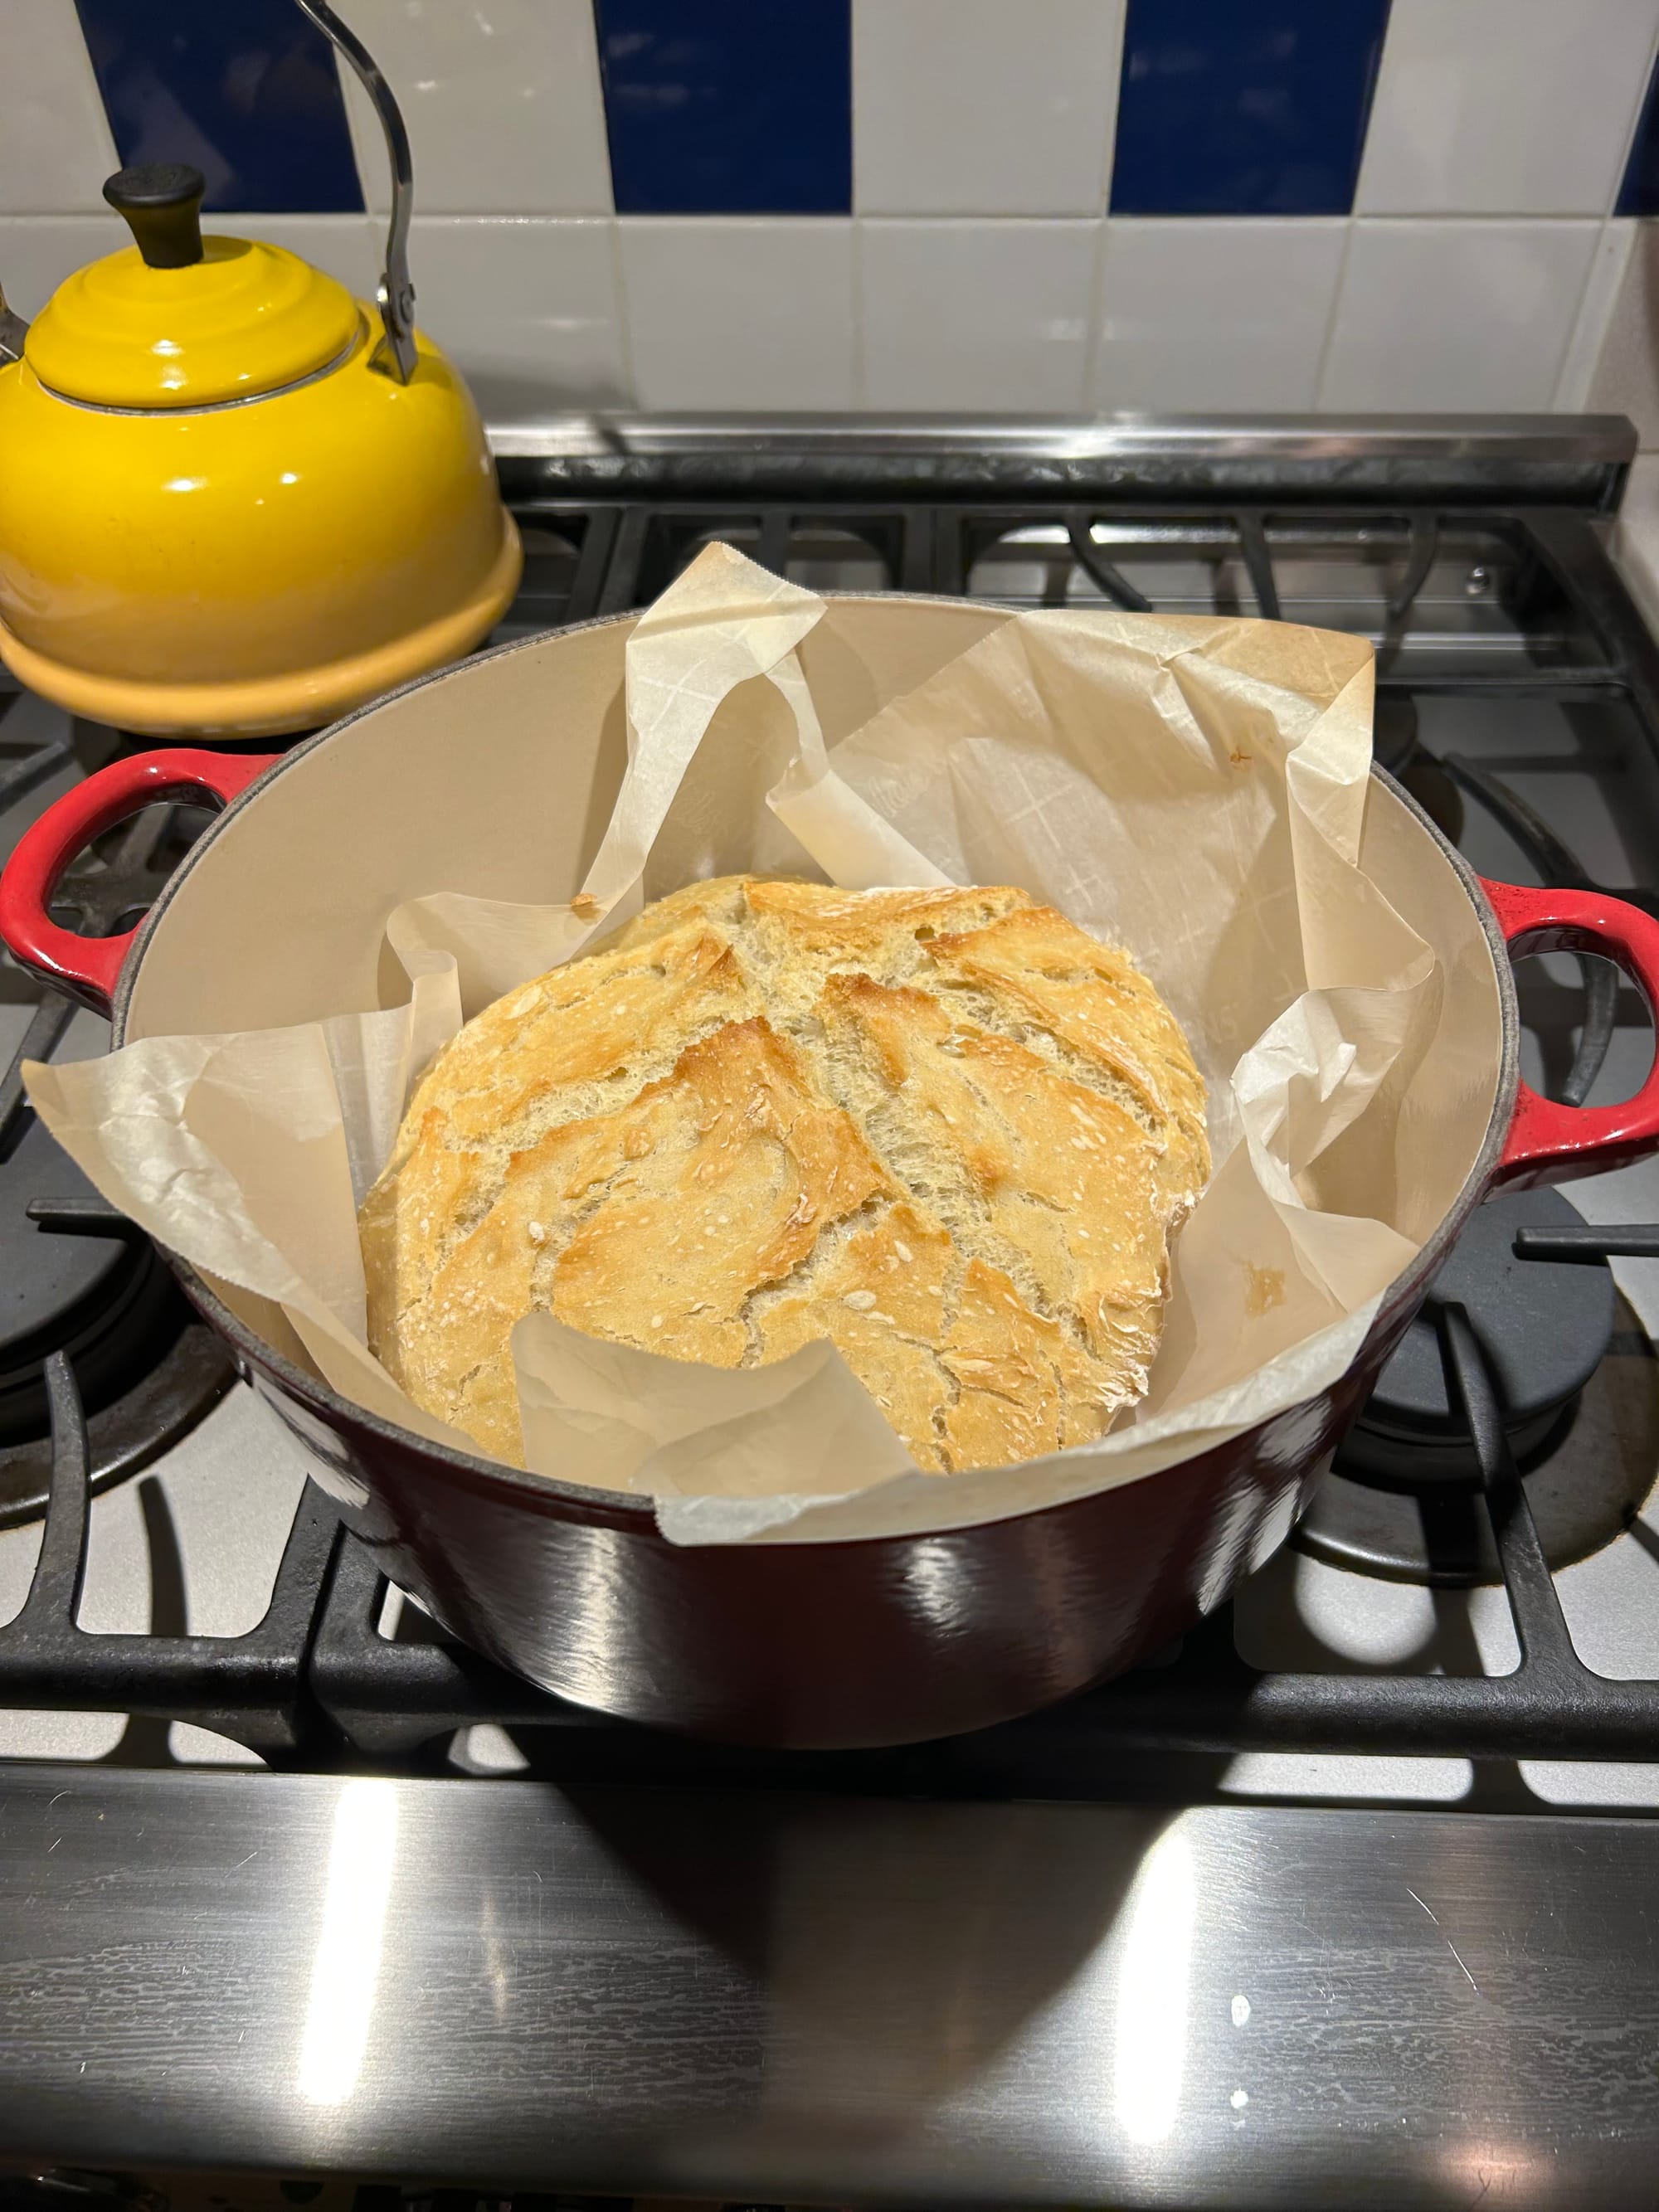
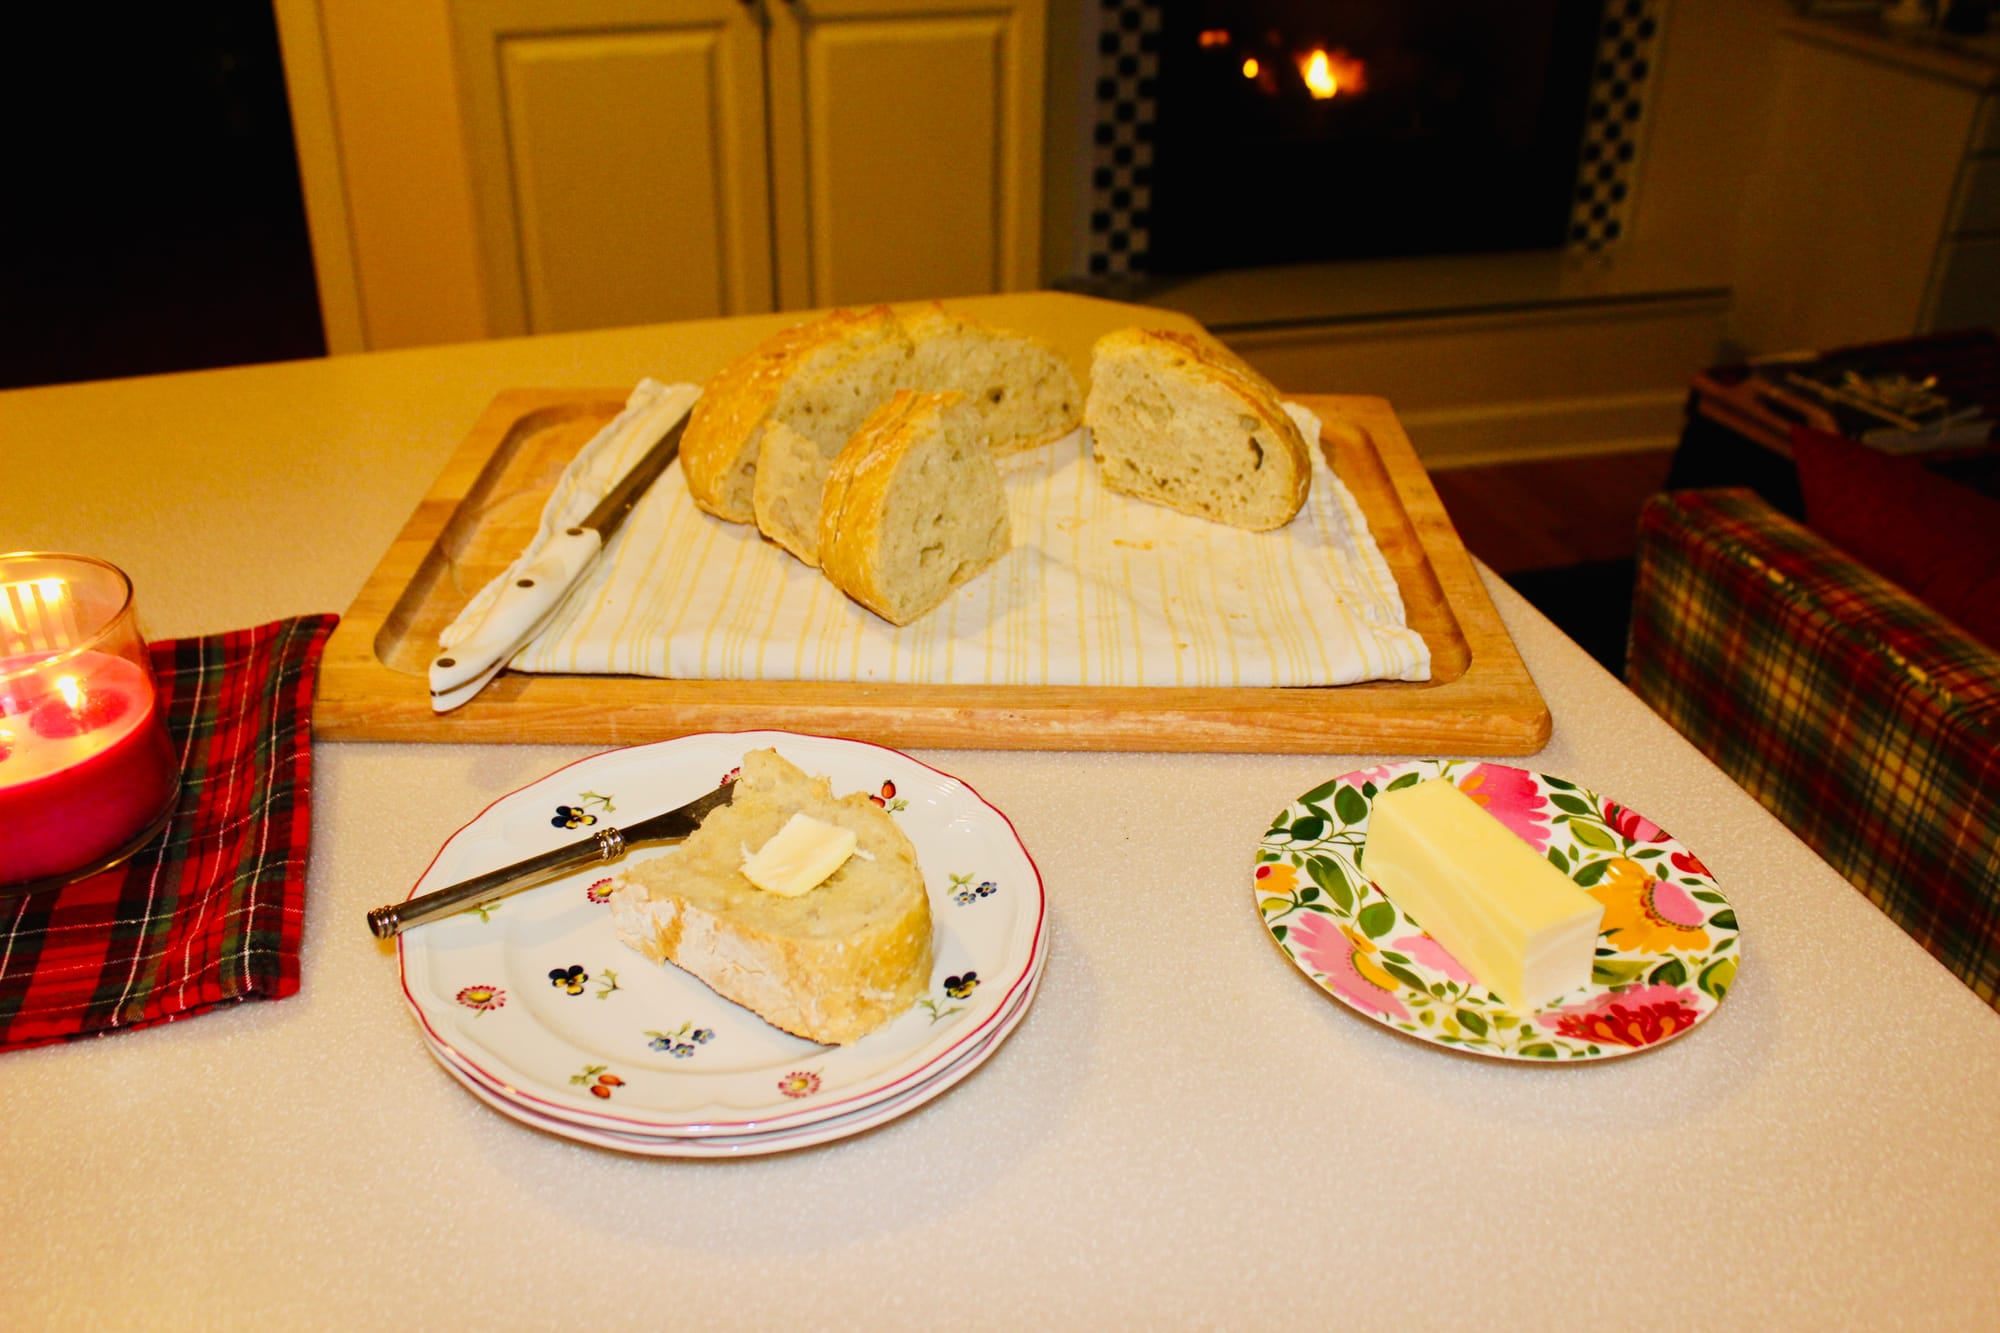
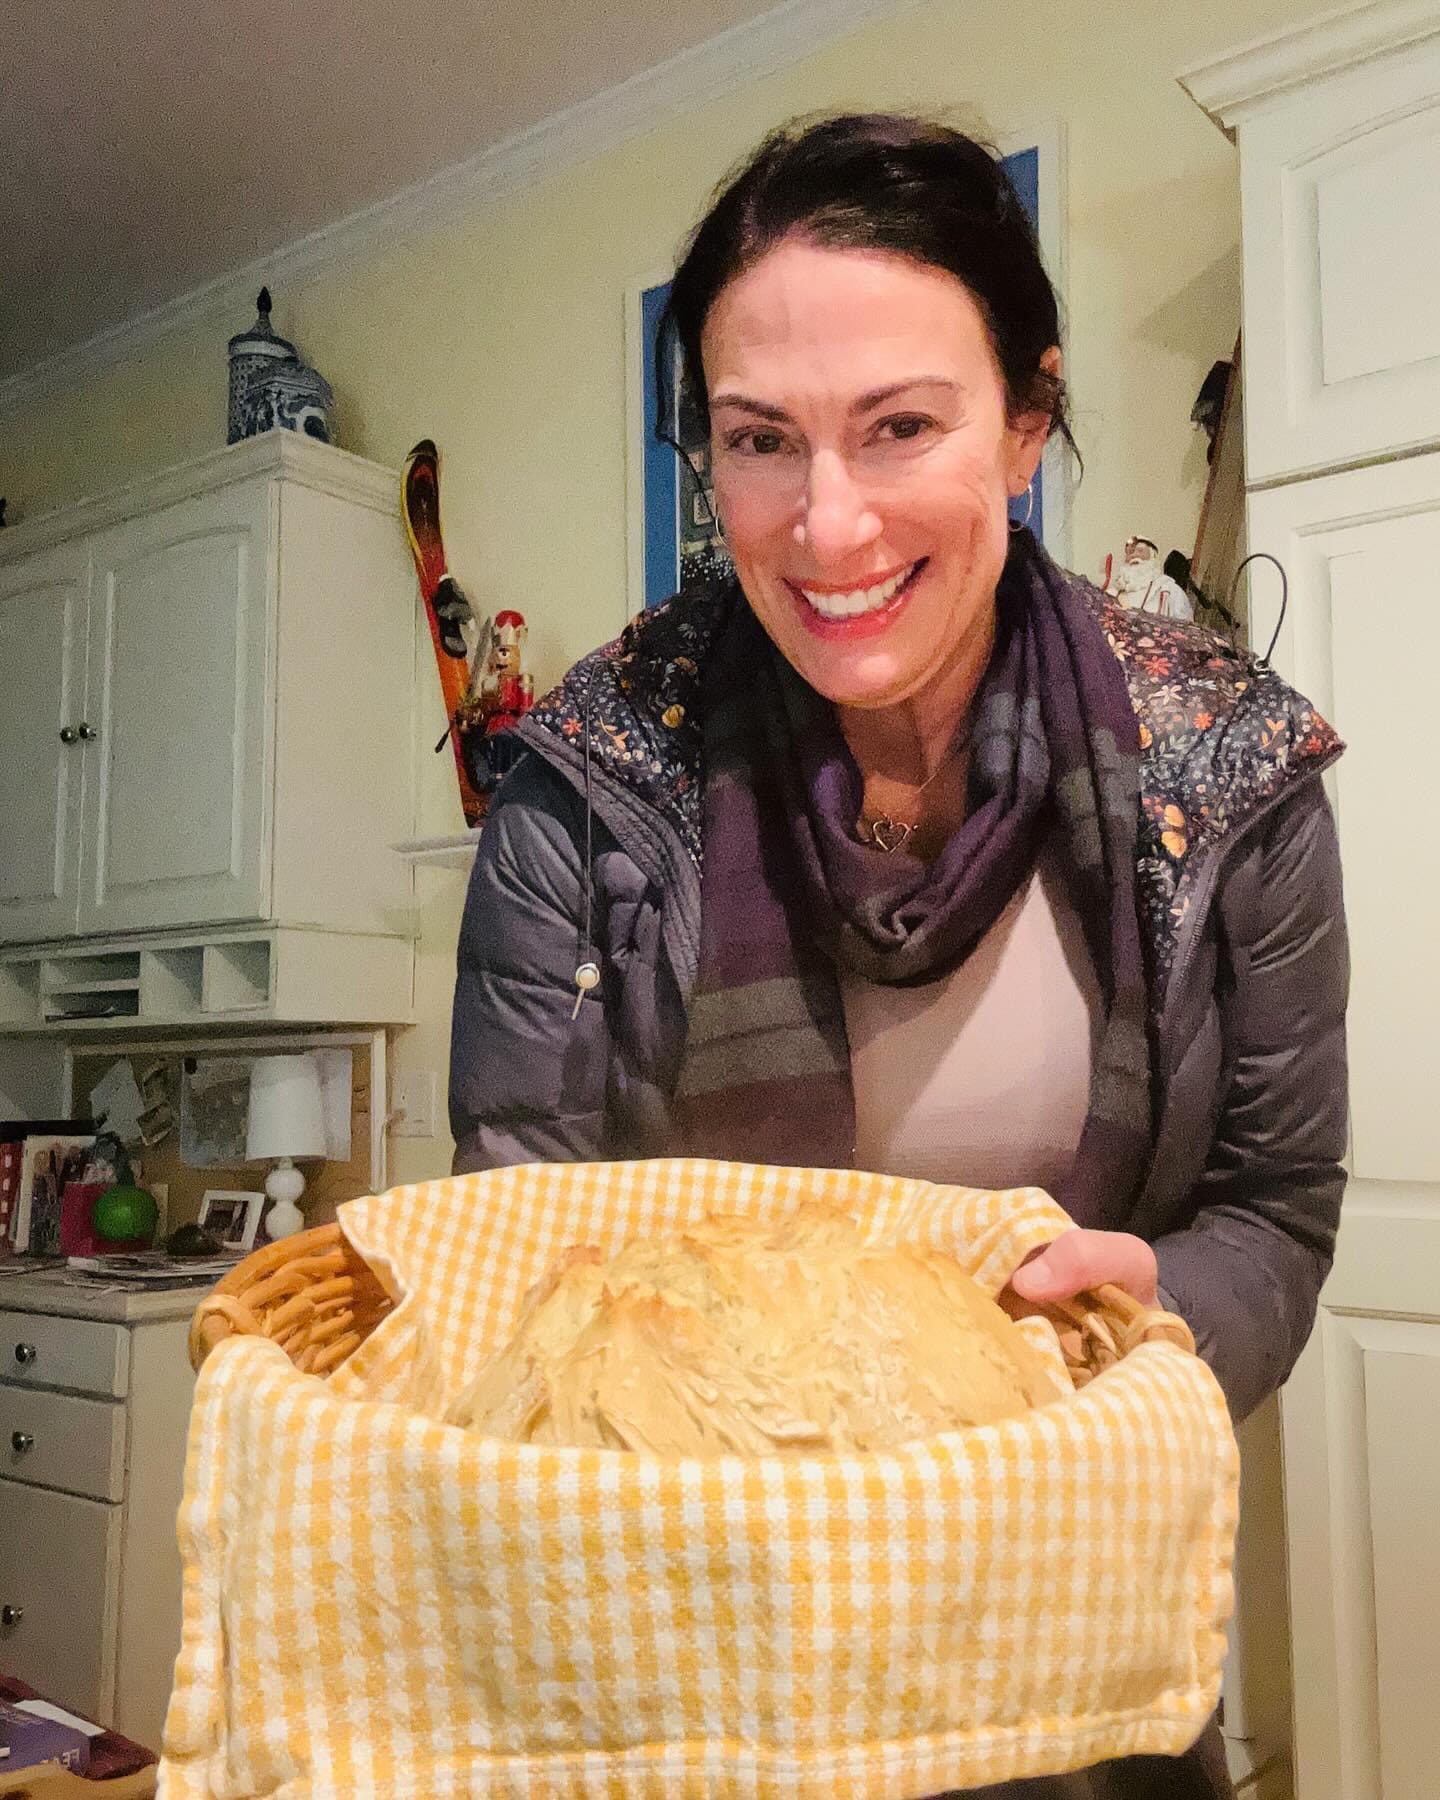
Photos from each time I made this bread this week, Saturday night top and bottom left, Monday top right and bottom right, made to take to dinner with long time friends…You can do this!